Shrink Wrap - Heat Shrinkable Tubing
How To Repair and Reinforce Cords with Big Connectors
Many of the cords, wires, and cables we use daily have at least one end with a bigger connector than the cord itself.
Some BIG connectors are:- Larger (but only a little) like the plug end of charging cables for personal and home electronics.
- Bulkier with wider blades and a third pin for safe grounding of extension and power cords.
- Wider with twist lock connectors for extra safety and increased currents in industrial settings.
- Massive because they're made for heavy-duty power delivery to your larger home appliances.
- Longer/Taller thanks to multiple rows of pins or sockets that keep your cars, computers, and other complex electrical systems perfectly aligned, connected, and communicating.
- Cumbersome combinations designed for compatibility and reliability between two components or differing connections like Ethernet, HDMI, VGA, XLS, and TRS.
Did you know that these (and all) connections are the weakest point on a cord?
Why Do You Need To Protect Connectors?
Connectors are the most vulnerable and the most important parts of a cord. With all the plugging, unplugging, pulling, charging, bending, jamming, and yanking that happens to connection points, they weaken over time.
Connection points big and small are also the most exposed to moisture, dust, vibrations, crumbs, the thermal cycling of on/off again currents, and corrosion. All these daily abuses wear down and dirty up the contact points. From there it's an avalanche from poor conductivity to electrical arcing and heat generation to failure.
The more weight and size of a connection point, the more strain and mechanical stress it puts on its cord. The absolute easiest way to combat connection point fatigue and reinforce the most crucial and fragile parts of all your cables, cords, and wires is with a layer of heat shrink.
How Heat Shrink Can Help
Heat shrink is durable, convenient, cost and price-conscious, and it provides the extra strength and protection that smaller cords and larger connectors need. Heat shrink is also a great way to perform maintenance and repairs on a cord or cable that you aren't able to disconnect or don't have a free end to access.
For the "moderately" bigger connectors, some higher ratio heat shrink tubes will start large enough and shrink down small enough to provide appropriate sealing and shielding. But as you start to creep higher in shrink ratios and even larger in connector size, the pricing and availability options become problematic.
So we have a fast, easy, DIY solution to help you repair and reinforce all your small cords that have bigger connectors.
Step-by-Step Instructions
Here's what you'll need to do in just 3 simple steps.
Step 1
Select the appropriate sized tubing for the diameter of your cord. For this tutorial, you do NOT need the tubing to fit over your connector at all!
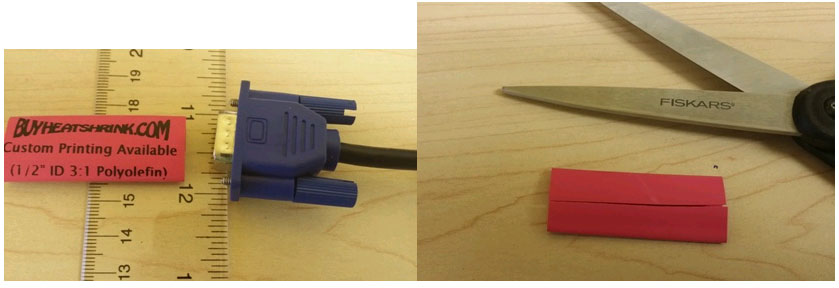
- In our pictures, we're using a 1/4" VGA cable with a jumbo-sized 1-¼" wide connector.
- We chose a heat shrink with a 1/2" diameter and a 3:1 shrink ratio for a nice, neat, and snug final fit.
- Use scissors to cut your tubing straight and lengthwise down its longest side.
Step 2
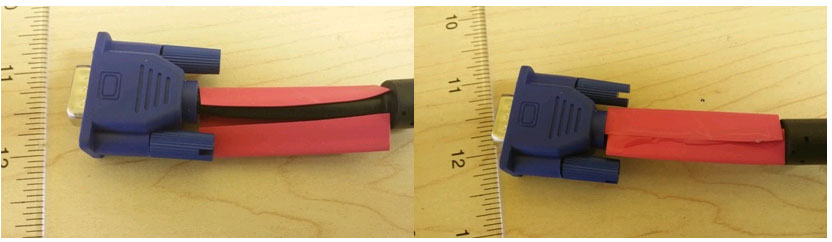
Place the slit tubing around the cable and overlap the edges.
- Ensure your edges overlap about ⅛".
- You'll be adding glue to the inside of the heat shrink, so leave yourself a little extra room so the glue stays on the tubing and not your cable.
- Glue the tubing with a good plastic cement/glue like Ethyl Cyanoacrylate (Loctite 480, Super Glue, etc).
- IMPORTANT - Read the instructions on the package of your glue CAREFULLY. This stuff is powerful and it doesn't mess around. Keep your fingers and your cable clean and dry.
- It helps to have a paper clip, binder clip, or small spring clamp handy to hold the tubing closed while the glue dries.
- Hold your glue and tubing closed with 30-60 seconds of pressure.
- Then allow about 10 minutes for the glue to dry.
Step 3
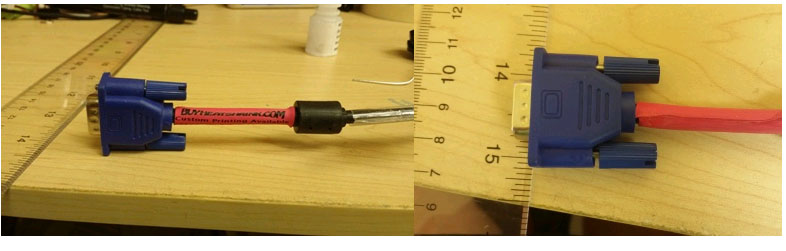
Use a heat gun or small butane lighter to activate and heat down your heat shrink.
- Make sure to apply the heat evenly.
- Remember to rotate your heat shrink while heating for the best results.
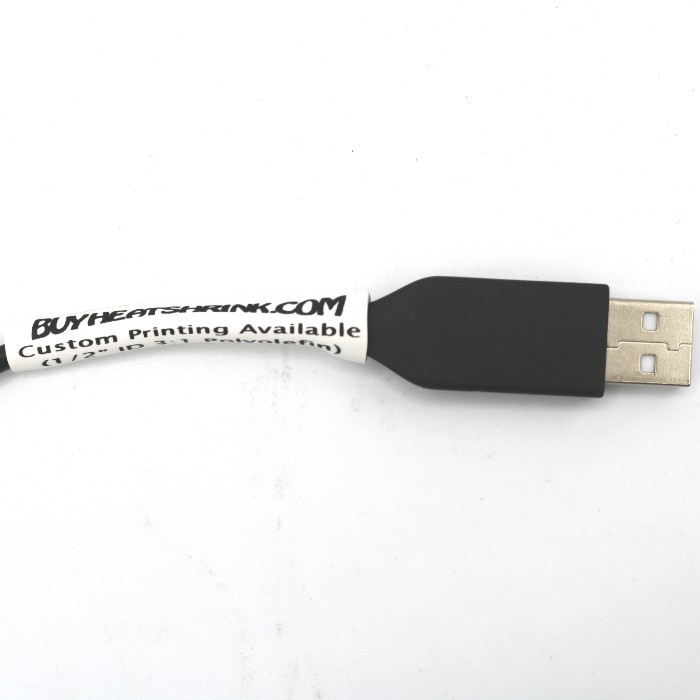
Here's another picture of the same tutorial completed on an everyday, USB-A cable.
Find all the heat shrink and help for your big, bigger, and biggest connectors at BuyHeatShrink.com
Shrink Wrap Slit Tubing