
How To Waterproof Home Swimming Pool Wiring

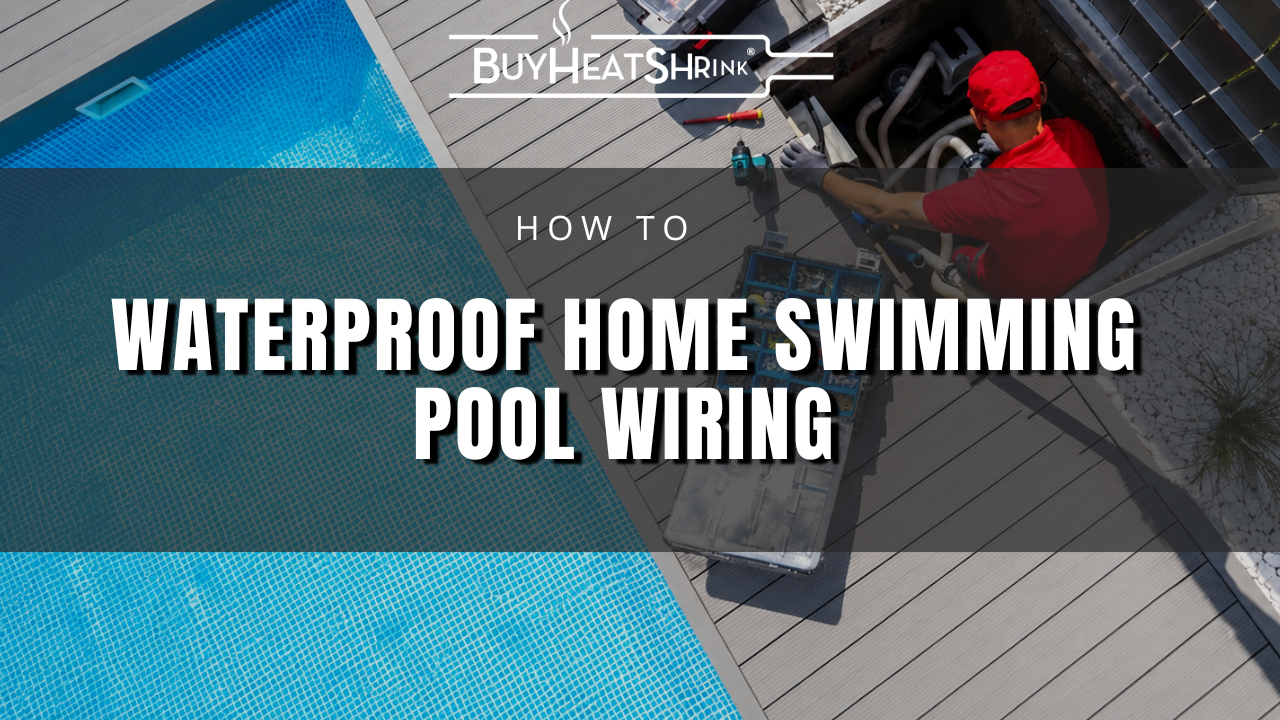
There’s nothing better than swimming in your own backyard.
That’s why 10.7 million Americans have a home swimming pool. But whether you’re floating in a stock‑tank cowboy pool you filled yourself or swimming laps in waterfall‑lined luxury, the truth is the same: pools need wires + wires don’t need water.
Waterproofing your pool’s wiring isn’t optional, but it’s not as hard as you think – and this blog shows you exactly where to start.
Why Pool Wiring Is Difficult — And How It Works
Swimming pool wiring and electrical systems are the part of pool ownership nobody talks about.
Water and electricity are a dangerous combination, and most homeowners assume pool wiring is something only a pro can touch. It doesn’t help that wiring gets installed once at the beginning, and nobody made you a map.
If you moved into a home with an existing pool, you may have never seen the wiring system that powers it. Builders don’t walk you through it. Service techs don’t explain it. And most pool wiring is invisible. It’s buried in underground conduit. It’s tucked behind equipment pads and sealed inside junction boxes. It’s safest out of sight, but that’s also where it gets forgotten. Be aware of the electrical hazards built into every pool system.
Every piece of pool equipment — pump, filter, heater, lights — relies on a specific set of wires. Pools need both power and communication lines to maintain safe, clean, circulated, and warm swims.
Line‑voltage wiring powers your pump, heater, and salt system. Low‑voltage wiring carries the signals, commands, and sensor data that control everything enjoyable about your pool, from temperature and flow to pressure and lighting. It’s a chain reaction run by wires.
Where Your Swimming Pool Wiring Breaks Down
Did you know that wiring is the cheapest part of your entire pool setup?
Every swim season pushes your wiring to its limits. There’s constant heat, UV rays, humidity, and thermal cycling. There are pop-up showers, hail, dew, and pounding wind and storms. You fill, splash, soak, and play. You turn the heater on, and off, and on again.
It’s summer– enjoy the pool! But if any moisture gets into your pool’s electrical connections, you’ll face problems as a pool owner. Expensive, dangerous problems. Corrosion. Resistance changes. Unstable voltage and equipment strain. Season after season. Pool electrical safety matters. The wiring is the symptom. The equipment is the cost.
Pool wiring must always be waterproofed. (See all the rules and regulations.) As a pool owner, you can add waterproof protection to any external wiring points. These are weak, vulnerable places where wires enter, exit, or connect outside your swimming pool equipment.
These external wiring points are the ones that wear out first and the ones homeowners can actually fix. They’re simple, accessible, and perfect for DIY pool waterproofing. This is where you start.
Pool Pump Power Whip: This is the only external power connection on your pump.
Diagnostic: Your pool pump runs intermittently or shuts off during wet weather.
Find It: The flexible, hose-like conduit feeding into the side or back of your pump.
Look For: Cracked conduit, loose fittings, water pooling around the connection, or rust staining on the metal collar.
Pool Heater Sensor Wire: The thin cable entering the heater from the flow sensor. This tiny entry port is the #1 moisture intrusion point in your home pool system.
Diagnostic: Your heater stops sensing flow correctly, or you get random pool heater sensor errors.
Find It: The small sensor lead running from your plumbing line into the heater’s housing cabinet.
Look For: Worn, damaged insulation, green corrosion on the wire, moisture around the entry port, or a loose grommet where the lead passes through.
Pool Heater Communication Cable: This is one of the most common failure points in modern pool systems. It’s the external cable that lets your pool heater “talk to” whatever you use to control your pool’s temperature and pump.
Diagnostic: Your pool heater drops offline, stops responding to temperature changes, or switches modes unexpectedly.
Find It: The cable running from your pool’s control panel or heater keypad into the heater cabinet. It’s the only wire that comes from your controls instead of from your plumbing or conduit.
Look For: Damaged, wet, or weak cable insulation, a loose or missing grommet, or moisture around the entry point.
Pool Light Wiring & Junction Box: The low-voltage wiring path (and the connections) that power your pool lights.
Diagnostic: Your pool lights flicker, don’t stay on consistently, shut off randomly, or your pool lights frequently trip the GFCI
Find It: The thin light cable exiting the conduit and entering the junction box mounted beside your pool or deck.
Look For: Water inside the junction box, corroded wire nuts, swollen or soft insulation, condensation on your lines.
Automation Panel Entry Cables: Most backyard pools have a way to control the pump and heater. It may only be a keypad and a switch. Or you may have a full pool automation panel with timers and schedules like Pentair, Hayward, or Jandy.
Diagnostic: Your pool controls behave unpredictably, lose connection to equipment, or fail to trigger scheduled actions.
Find It: The bundle of cables feeding into the bottom or side of your control box.
Look For: Damp cable jackets, swelling, discolored, or softened insulation, a loose entry fitting, or visible moisture where the cables pass into the enclosure.
Tools and Materials That Actually Hold Up Around Pools
When it’s time to fix broken swimming pool wires or replace any sections of moisture-damaged pool wiring insulation that you’ve found, the materials you use make all the difference.
Home swimming pool wiring needs true waterproof protection – and that means adhesive lining and dual walls.
At BuyHeatShrink.com, we carry premium, adhesive-lined heat shrink tubing that comes with interior walls pre-lined with hot melt adhesive. All these products are 100% waterproof. Plus, we’ve got tools, tips, and helpful heat source videos to support you on your way.
Here’s what you’ll need to waterproof the wiring around your pool equipment:
Materials:
- Dual‑Wall Connectors: for repairing damaged sections of pool wiring and creating sealed, waterproof splices.
- Adhesive‑Lined Heat Shrink: an easy‑fit, shrink-on sleeve that slides over pool wiring and connections to create a 100% waterproof barrier.
- Adhesive‑Lined Medium Wall Heat Shrink: thicker exterior walls, still waterproof, to reinforce cable entries that see heavy splash or weather.
- Adhesive‑Lined Heavy Wall Heat Shrink: the strongest possible waterproof protection for wet zones, including direct‑burial wiring, high‑pressure spots, and the harshest outdoor conditions.
- Adhesive‑Lined Heat Shrink End Caps: for closing off open conduit ends so water can’t get inside.
Tools:
- Ratchet Crimpers: for making secure, consistent closures on dual‑wall connectors.
- Scissors: for trimming tubing and cleaning up damaged cable jackets.
- Utility Knife: for precision removal of any damaged sections of insulation
- Heat Source: for shrinking adhesive‑lined tubing to create a watertight seal.
A Quick Heat Source Heads Up:
– A lighter works for standard adhesive-lined tubing, but it takes more patience and careful heat.
– Heavy wall tubing requires a heat gun, so plan on dragging out an extension cord.
– If you don’t mind spending less than $40, a heat gun delivers cleaner, faster, perfect shrinks every time. (You’ll still need the extension cord. But it’s well worth it for worry-free shrinks in Step 3.)
Always prioritize your safety and never work beyond your limits. The NEC (National Electrical Code) Article 680 addresses swimming pool installations and safety standards for all pool electrical work.
How To Waterproof Your Pool Wiring: Step-by-Step
Once you know which wire and piece of pool equipment you’re working with, waterproofing your wires is a simple process.
-
Disconnect All Power
Before you touch anything, shut off power at the breaker that feeds your pool equipment.
Outdoor electrical systems can hold residual charge. So give it a couple of minutes to fully discharge. This prevents shock, protects your equipment, and keeps your DIY pool repairs safe from accidental shorts.
If you’re unsure which breaker controls your pool equipment or you feel in over your head at any point, call a licensed electrician to handle the wiring safely.
-
Prep the Wire You’re Fixing
Start by inspecting each external wire and the point where it enters your pool equipment.
Pool wiring can develop dry, cracked, swollen, or sun-baked insulation over time. Look for any spots where the insulation has failed or where moisture may have crept in.
Determine if you’re dealing with actual, physical damage or just tired insulation that needs reinforcement.
For compromised insulation:
Remove it in sections with the utility cutter. Hold the wire steady. Use short, shallow cuts. Cut slowly, and lift the insulation off in small passes. The goal is to shave it away, not slice towards the copper. Do not cut the wire beneath it. (If you’re not confident in your cutting control, this is the point where a licensed electrician should take over.)For insulation that’s still intact:
Gently wipe off any dust or debris. Dry it thoroughly. Dual wall, adhesive‑lined products work best on clean, dry surfaces. Most of your DIY swimming pool wiring will fall into this category — insulation is already intact and ready for a waterproofing layer. -
Add Waterproofing Protection
Don’t let this step scare you. It isn’t hard.
Grab your adhesive lined, dual wall products from BuyHeatShrink.com. You can’t waterproof your pool wires without them. You’ll need your scissors and heat source now, too.
- Measure the section you want to cover.
- Cut your heat shrink a little longer than that spot. (Or use a pre-cut kit.)
- Find the wire lead at the terminal inside the pump, heater, or control box.
- Loosen the screw holding the wire in place and slide the wire out just enough to get the tubing on. (Not sure which one? Pool electrical safety is the priority. Stop and call a pro.)
- Slide the tubing over the wire before heating.
- Center it over the area you’re protecting.
- Apply steady, even heat from 4-in away. Rotate slowly. Move the flame always. (Or use a heat gun–it’s a lot easier.)
- You’ll see the adhesive soften and melt into place.
- Then the tubing will tighten around the wire.
- Let off the heat. You’re done.
Most pool owners skip this step and end up with cracked, water‑logged wires. You didn’t. You used adhesive‑lined, dual‑wall tubing — the only thing that actually waterproofs a pool wire.
-
Seal Every Cable Entry Point
Now it’s time for a final waterproofing pass.
You’ve already sealed your first wire (Step 3), and you’ve got the materials in your hand. Finish the job by protecting any remaining external wires or cable entry points around your pool pump, heater, and control box.
Treat each opening (or external wire) the same way: close the gap, cover the lead, and let adhesive lined, dual wall heat shrink tubing make sure your pool wiring is always dry, safe, and fully waterproofed.
It’s cheaper to reinforce your external pool wiring and cable entry points now than it will be to replace a broken pool pump motor or buy a new pool heater later. Modern pool equipment is built to last, but the wiring that connects it all isn’t — and this final pass is what keeps all those vulnerable spots in your home pool wiring protected through every swim season.
Take Your Home Swimming Pool Care Up A Notch with BHS
You care where you swim. It’s why you swim at home.
We care about keeping your wires dry, your swims safe, and your pool equipment powered and protected.
That’s why BuyHeatShrink.com carries the strongest adhesive‑lined, dual‑wall heat shrink products. We make it easy to waterproof outdoor wiring, shield splash‑zone cable entries, and protect any wet‑location wire repair you DIY around your home pool.
We’ve got convenient bulk rolls, pre‑cut tubing options, and an entire lineup of boat and marine heat shrink products, plus rust‑proof stainless steel cable ties to hang, hold, bundle, and secure everything around the pool.
At BuyHeatShrink.com, you’ll find everything you need to waterproof your pool wires fast — so you can enjoy your backyard pool without worrying about the wires that keep it running.
Shop BuyHeatShrink.com and build a better poolside electrical setup.


About the Author

Types of Heat Shrink: What They Are, and What They’re For
September 9, 2020
How To Remove A Cable Tie
August 10, 2020

10 Types of Electrical Connections and How They’re Made
March 10, 2021

The Top 10 Do's and Don'ts of Heat Shrink
November 10, 2023

How to Use Heat Shrink Wire Connectors
November 5, 2023

The Complete Hunter’s Guide to Better Outdoor Gear
September 30, 2026
How to Measure Cable Diameter
September 29, 2026


Road-Worthy: How Sleeving Helps Long-Haul Trucking & 18-Wheelers Get It Done
September 10, 2026
How To Waterproof Home Swimming Pool Wiring
August 13, 2026