
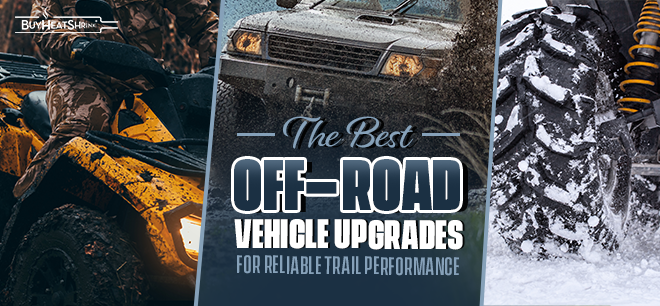
The Best Off-Road Vehicle Upgrades for Reliable Trail Performance


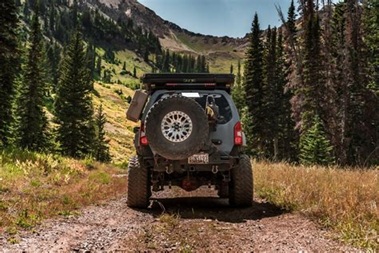
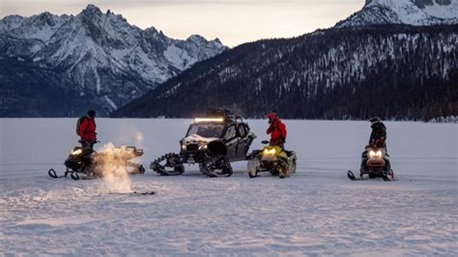
Most off-road vehicle upgrades are easy to buy.
The hard part comes later. Keeping them working no matter what the trail throws at you. Your ATV, UTV, truck, Jeep, or favorite recreational vehicle might be a beast. But stock parts only get you so far once you leave the pavement.
If you want to ride harder, longer, and dirtier this trail riding season, you can't "hope" your setup will hold together. You have to build it to.
Why Reliable Wiring Matters for Off-Road Vehicles
The best off-road upgrades aren't always the biggest, fastest, flashiest, or most expensive. They're the ones worth your time.
Performance upgrades are great. Suspension upgrades are awesome. More visibility? More safety? More communications? Yes, please. ATV and UTV riders already know: the first upgrade is never the last.
The problem is that every one of those upgrades depends on something riders rarely think about: wiring.
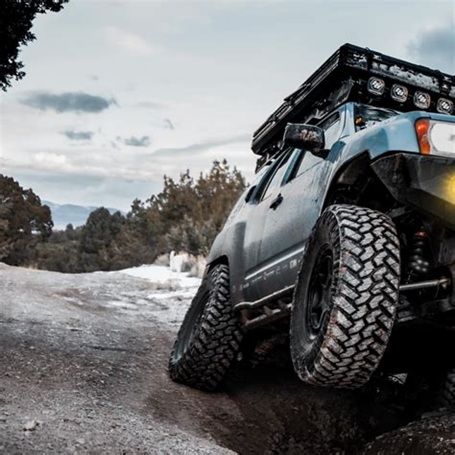
No matter what you're upgrading, adding aftermarket, or installing on your off-road vehicle, it's going to need power. That means wires. And those wires have to survive everything the trail throws at them. Trail riding enthusiasts face water, rain, mud, rocks, impacts, jostling, vibrations, heat, cold, and suddenly changing weather and trail conditions.
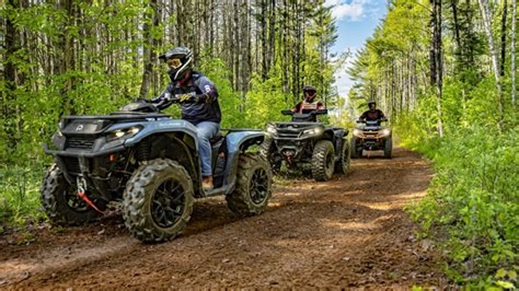
ATVs, UTVs, snowmobiles, and other off-road vehicles may be built differently, but most of the common electrical challenges are exactly the same.
Trail riders often see intermittent power loss, accessories that randomly stop working, unreliable lighting, blown fuses, dead batteries, electrical gremlins that come and go, or wiring that simply doesn't hold up.
Most off-road vehicle electrical problems can be traced back to the same trouble spots:
- Wiring that lacks proper protection but still takes constant, repeated trail abuse.
- Electrical connections that aren't sealed and reinforced become failure points over time.
- New accessories get added without adhesive connectors or second-layer protection, creating future reliability issues.
- Wire harnesses aren't secured and routed correctly, so they wear out faster than they should.
Left unchecked, these problems can affect everything from visibility and recovery systems to powered accessories and your vehicle's power itself.
Don't let small electrical issues and unreliable wiring leave you stranded at the trailhead, miles from camp, or halfway through a ride.
That's why these upgrades are worth your time. You're already upgrading your vehicle. These upgrades help make sure those upgrades keep working.
For each upgrade below, you'll see: the skill level, tools needed, payoff, and a quick "how-to" overview of the work involved. You'll also find a "Things to Know" section with practical, behind-the-scenes tips to help you avoid common mistakes.
Let's make sure all your off-road upgrades are steady, secure, and sealed so you can ride longer, harder, and dirtier…all season long.
Upgrade #1: Add Waterproofing + Protection For Exposed Wiring
Skill Level: Easy
Tools Needed: 3:1 heavy wall adhesive lined shrink + heat gun
Exposed wiring takes a beating on the trail. From rocks and rough terrain to rain and changing conditions, wiring on your ATV or UTV needs extra help.
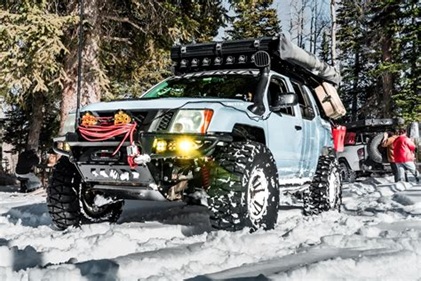
Underbody wire runs, battery cables, winch wiring, and front-end accessories are constantly hit with trail damage. Water soaks. Mud cakes (then dries). Vibration is nonstop. Everything moves. Everything is dirty. And everything still needs to work, which means your wires must stay sealed + dry.
The harder you use your off-road vehicle, the more important this upgrade becomes. Adding waterproof, extra-tough protection helps these wire runs survive the abuse. That's one less electrical problem waiting for you halfway through a ride.
Payout: Waterproof seals. Heavier walls. One product handles pretty much everything the trail throws at exposed wiring. Water. Debris. Mud. Rocks. Protect it once and stop worrying about trail damage.
A Quick How-To:
- Check exposed wiring around the underbody, front end, battery, and winch
- Cover those exposed sections with 3:1 heavy-wall adhesive-lined heat shrink
- Apply heat until the tubing fully seals around the wire
- Let it cure for a couple of minutes and get back to riding
Thing to Know: You'll need a heat gun to properly shrink this stuff. It's also a permanent solution. If you need to access that wire later, go with braided cable sleeving or wire loom instead. Just remember: no adhesive means no waterproofing.
If you're only making one upgrade this trail riding season – this is the one.
Upgrade #2: Replace Old, Worn, Weak Electrical Connections
Skill Level: Advanced
Tools Needed: butt splice connectors + ratchet crimpers + a secondary layer + lighter as heat gun
Wires aren't always the problem. Recreational vehicle riders also deal with corroded terminals, loose connectors, aging splices, and worn accessory connections. Years of vibration, moisture exposure, and trail abuse damage any connection that wasn't properly secured and protected.
Lighting systems, communication and navigation equipment, GPS units, and aging accessories often rely on connection points that are long past their prime. The longer these problems go unchecked, the worse they usually get.
The older the connection, the more likely it is to fail when you need it most. Replacing unreliable, tired, and worn electrical connections now helps keep power flowing where it belongs and prevents surprise failures later.
Payout: Better accessory performance. Stronger connections. Fewer electrical problems. No random power loss. No intermittent problems. No wondering why something worked yesterday but not today.
A Quick How-To:
- Find aging accessory wiring, older repairs, and aftermarket installations
- Remove questionable connections and crimp on new adhesive-lined butt connectors
- Protect the repair with a secondary layer of heat shrink or sleeving
- Restore power and make sure the repair holds
Things to Know: Finding the bad connection is often the hardest part. Expect to spend more time diagnosing the problem than making the repair. For maximum protection, add a secondary layer such as adhesive-lined heat shrink or braided sleeving after the repair is complete.
If you're chasing a mystery electrical problem on your ATV or UTV, start here.
Upgrade #3: Install New Lighting + Powered Accessories
Skill Level: Moderate
Tools Needed: butt splice connectors + ratchet crimpers + a secondary layer–braided cable sleeving for access or adhesive lined tubing for cover + lighter
Many off-road owners add their own lighting and accessories. Each new accessory you install introduces additional wiring, connection points, and opportunities for electrical problems down the road.
Light bars, rock lights, radios, charging ports, GPS units, and communication equipment are some of the most popular ATV and UTV upgrades. These additions improve visibility, convenience, communication, and overall trail capability.
The trail doesn't care that the installation is brand new. Vibration, weather, and trail abuse start working against those connections from the first ride. Protecting them now helps keep those upgrades performing the way they should.
Payout: Better visibility. More capability. Dependable power. Reliable accessories. No loose wiring. No weak points. No surprises on the trail. Just upgrades that work when you need them.
A Quick How-to:
- Mount the new lighting or accessory and route the wiring
- Crimp and connect the wiring with waterproof, adhesive lined butt splice connectors
- Cover connections with a secondary layer of braided sleeving or adhesive-lined tubing
- Verify everything works before heading out
Things to Know: New installations are usually easier than repairing old wiring. Don't skip protection just because something is brand new. Use proper dual-wall connectors and over-wire protection from the start.
If you're upgrading your ATV or UTV, protect it now or face repairs later.
Upgrade #4: Tidy + Tighten Your Wiring Harnesses
Skill Level: Moderate
Tools Needed: braided cable sleeving + slit loom PET tubing + sharp utility cutter + cable ties
The wiring harness on your ATV or UTV keeps the electrical system organized. You can locate these crucial wiring runs under the hood, along the frame, beneath seats, and around the battery.
Years of trail riding can turn a clean wiring harness into a tangled mess. Wire bundles shift. Protective coverings wear out. Cable ties break. Previous repairs, modifications, and upgrades leave sections of your vehicle wiring harness exposed, unsupported, or improperly routed.
A tidy wiring harness is easier to inspect, easier to maintain, and better protected from trail abuse. Keeping wire runs covered, organized, and secured helps prevent avoidable wear before it turns into a bigger electrical problem.
Payout: Better wire routing. Strong abrasion protection. Cleaner installations. Easier troubleshooting. Easier future upgrades. No loose wire runs. No sloppy wiring harnesses. Just organized wiring that's protected and trail-ready.
A Quick How-to:
- Inspect the wiring harness for signs of abrasion, loose wire runs, and worn or missing protective coverings
- Cover weak sections with abrasion-resistant braided sleeving
- Reinforce larger wire bundles with Slit Loom PET Tubing for rugged abrasion protection and improved harness management
- Route + Secure everything with cable ties to prevent movement, sagging, and unwanted contact
Things to Know: You don't need to rebuild your entire wiring harness to improve it. A few extra zip ties will stabilize and secure more than you realize. Can't disconnect your wiring? Split loom covers that, literally, without needing to "undo" any electrical work. And always remember, electrical tape is only temporary.
If your wiring harness isn't protected, neither is the rest of your electrical system.
Pre-Season Prep List for All Off-Road Vehicles
A successful season starts before your tires hit the dirt.
Whether you're heading out for an afternoon ride or a full weekend off-grid, a little preparation now helps improve your trail riding safety, prevent breakdowns, and keep minor problems from cutting a trip short.
Spend 10 minutes working through this pre-season prep list:
- Always wear a helmet, eye protection, and proper riding gear
- Know where you're riding and check trail conditions before heading out
- Charge communication devices, GPS, and power banks
- Give your vehicle a pre-ride inspection
- Keep zip ties handy for trail repairs and securing loose gear
- Carry water, first-aid supplies, and emergency essentials
- Replace suspect wiring, connectors, and damaged protection before the season starts
- Fix small problems before the trail turns them into big ones
Preparation gets you to the trail. The right upgrades help keep you there.
Build Reliability Into Every Upgrade
Buying upgrades for off-road vehicles is easy.
Keeping them working through wet crossings, muddy trails, rocky terrain, and that pop-up thunderstorm? That's hard. But that's the point.
Every trail riding enthusiast gets it. The rougher, muddier, and harder the ride, the more rewarding it becomes. But if you want your vehicle upgrades to survive those conditions, you have to build them to.
That's where BuyHeatShrink.com comes in. From heavy-wall heat shrink that seals and protects to adhesive lined connectors that strengthen repairs and sleeving that prevents wear, you'll find the products needed to help your upgrades survive the trail.
Build it right. Protect it right. Then go enjoy the ride.
Shop BuyHeatShrink.com today and build your next upgrade to last.


About the Author


Types of Heat Shrink: What They Are, and What They’re For
September 9, 2020
How To Remove A Cable Tie
August 10, 2020

10 Types of Electrical Connections and How They’re Made
March 10, 2021

The Top 10 Do's and Don'ts of Heat Shrink
November 10, 2023

How to Use Heat Shrink Wire Connectors
November 5, 2023
The Best Off-Road Vehicle Upgrades for Reliable Trail Performance
October 15, 2026
The Complete Hunter’s Guide to Better Outdoor Gear
September 30, 2026
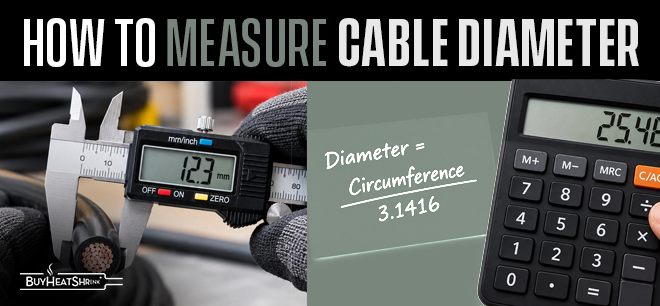
How to Measure Cable Diameter
September 29, 2026
Road-Worthy: How Sleeving Helps Long-Haul Trucking & 18-Wheelers Get It Done
September 10, 2026