E-Bike Repairs Made Easy & The Myths That Say You Can't
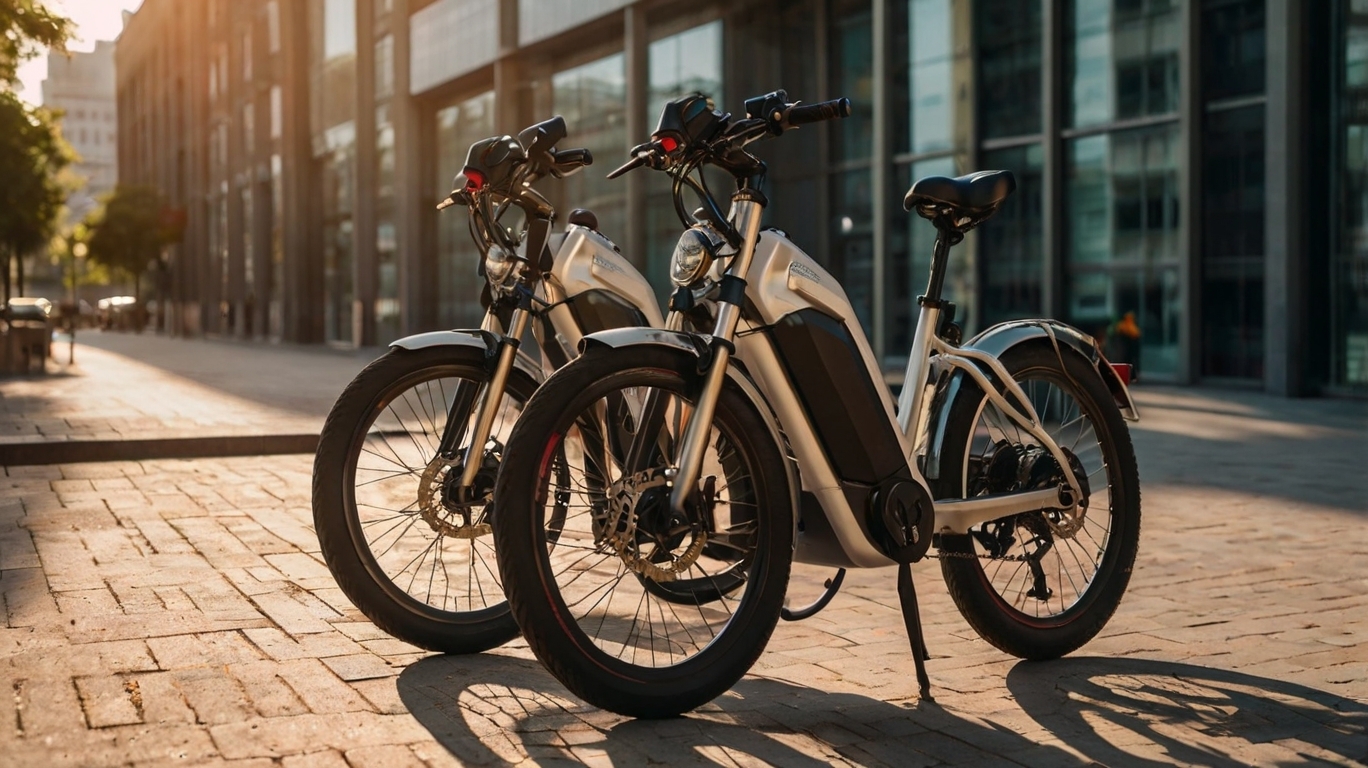
In the last 3 years, over 130 million e-bikes have hit the streets, sidewalks, and trails worldwide.
They come with GPS, Bluetooth, app integration, and rechargeable batteries that deliver 25-60 miles per charge. They are wildly eco-conscious, energy-friendly, and seriously fun to ride. It’s no wonder that e-bikes are changing the urban commute, errand-running, and the gig economy…all while also saving the planet.
But when something breaks, scare tactics, missing info, and urgency make e-bike riders think, “You can’t fix that.”
We disagree.
Myth #1: E-Bike Repairs Require Special Tools and Training
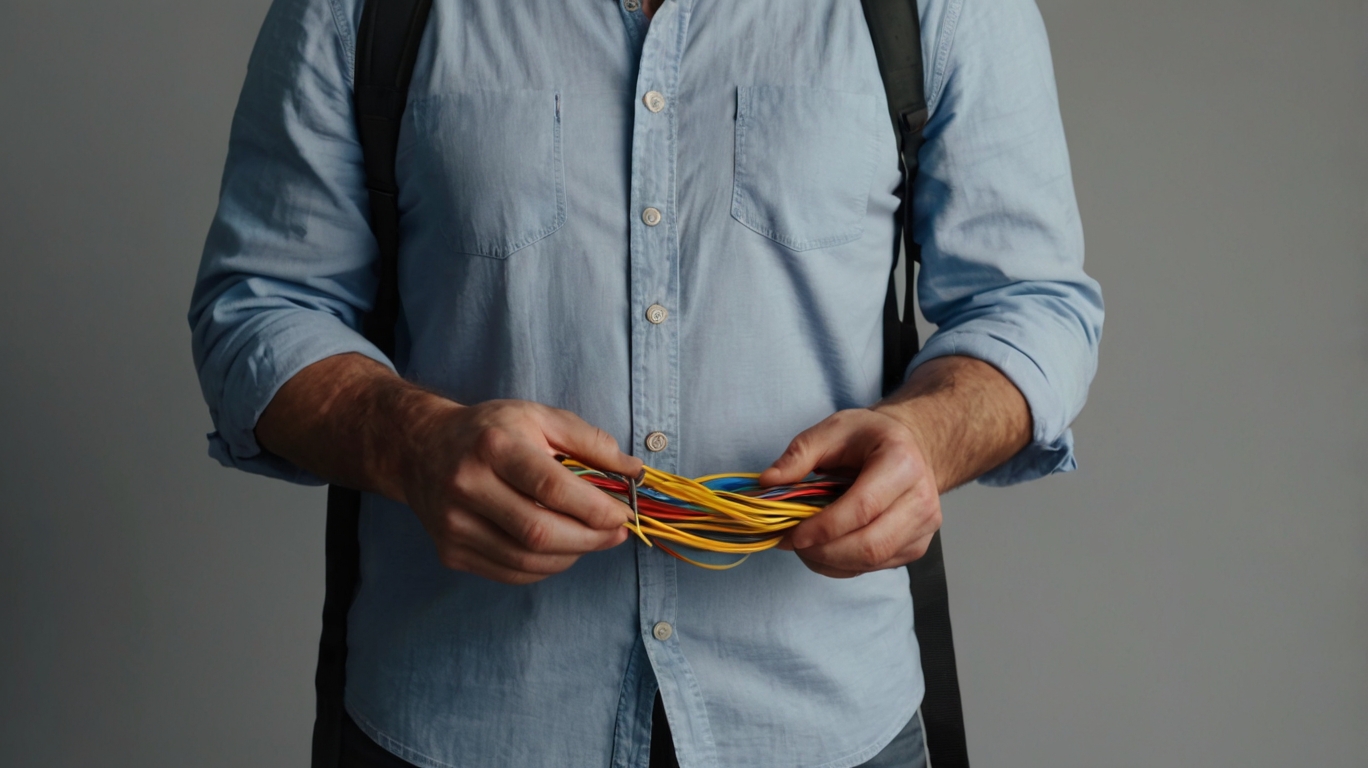
The reality is that most e-bike repairs come from just a few key parts: the battery, controller, motor, and wiring.
Those four parts almost always fail first. They stop your bike from turning on. They fluctuate your power, cut your motor, and glitch your throttle. But 9 out of 10 times, these aren’t deep system failures. They’re the result of surface-level problems that you can absolutely find and fix yourself.
When something goes haywire on your e-bike, visual inspection should be the first thing you do. You’re looking for: rusty leads, wiggles, loose or unconnected ends, crimped or crushed wires, melted or cracked insulation, and frayed or exposed wires. These common e-bike mechanical repairs are repeat offenders. And they almost always ARE the problem you need to fix.
E-bike diagnostic machines are great. But they’re brand-specific. So you can’t borrow a friend's and probably don’t have the right one just lying around. Shops are great for big repairs, but most e-bike riders can tackle small issues without a diagnostic machine and a repair badge.
Let’s get familiar with the tools you’ll need for DIY e-bike repairs at home.
- Wire Strippers + Crimp Tool: For prepping wires and locking splices in place without guesswork.
- A Multimeter: Optional, but brand-universal for diagnosing power flow issues.
- Electrical Tape: Good for fast, temporary sealing and insulating. Super-handy and portable for on-the-ride or on-the-side-of-the-road work.
- Braided Sleeving: Organizes messy cables and prevents damage from frames, folding, and formidable rides.
- Butt Splice Connectors: For clean, solid connections that never wiggle loose.
- General Purpose Heat Shrink: Adds electrical safety and insulation integrity.
- Dual Wall Heat Shrink: Adds waterproofing anywhere it goes.
- A Heat Gun: Optional, but easier controlled heat for first-time fixers; can be swapped for a smaller heat source in a pinch.
Remember, you are working with an electrical system. So work safety smart. If at any point, you feel like the repair is over your head, let a pro take a look. But before you search, shell out, and sit around waiting, let’s pop this myth right now.
The truth is, with the right tools and a little know-how, most e-bike repairs are well within reach.
Myth #2: You Need To Be A Pro To Repair E-Bike Wiring
The reality is that most e-bike wiring issues are easy to spot and easier to fix–no certification required.
E-bike’s portable, powerful frames are packed full of wires. They connect every major part of your bike. Wires deliver battery power to the motor and controller. They send signals from the display, throttle, pedal, and brakes. They dictate error codes. They control your whole system’s behavior.
E-bike wiring diagrams can be a nightmare of confusion. But a manual won’t tell you which wire is loose, rusty, or coming undone.
Find It
Always do a visual inspection first. (Then repeat if needed with a multimeter.) You’re looking for:
- Crushed or pinched wires caught in the frame or zip ties
- Loose plugs at the motor, controller, or display
- Rust or corrosion around e-bike battery terminals (or at exposed metal ends)
- Frayed or exposed leads from wear, weather, or vibration
If your bike is glitching, cutting out, or refusing to power on, odds are the wiring is the reason–and the damage is probably a visible repair or replacement needed.
Fix It
Start where the weak spots and power drops are.
For bad wires: Check for stress and pinch points. Use braided cable sleeving to protect and reinforce high-movement areas. Overstretched and overflexed wires can’t work right. They deliver inconsistent power and send slow, choppy messages. Use splice extensions and dual wall heat shrink to bond tightly and seal in the power.
For damaged insulation: Cover exposed wires! Electrical tape is helpful, but heat shrink tubing is stronger and safer. Overworked, overheated wires can melt, warp, or discolor insulation. If needed: remove the damaged wire and replace with butt splice connectors. Finish off with a layer of heat shrink tubing for safety and uniformity. Can’t disconnect? Wrap around braided cable sleeving to the rescue. Exposed wires require heat shrink tubing to regain electrical integrity.
For bad connections: Trim back the ends. Strip and clean wires. Crimp adhesive lined butt splice connectors on tight. Loose connections happen all the time, but they are easy to fix. Adhesive lined connectors are rugged, vibration-proof, and last for 5-10 years. Affordable, professional-grade crimpers and the right tools make professional connections. Keep a kit on hand for faster installs, and don’t forget to cover connections with a heat shrink shield.
The truth is that repairing e-bike wiring takes patience–not an engineering degree. With just a few tools and a little time, most e-bike riders can keep their wires and rides roadworthy.
Myth #3: Bad E-Bike Battery = Buy a New One
The reality is that not all e-bike battery issues are fatal. Many are caused by a surface-level problem you can diagnose and fix yourself.
E-bike batteries might look intimidating. But they’re just modular power units that need recharging every so often. They deliver voltage to the motor to drive the wheels. They supply energy to the controller, throttle, display, and sensors. They regulate your pedal assist and power your GPS and accessories.
There is no standard location for e-bike batteries. Each manufacturer picks what they think is the best placement: frame-integrated, rear rack-mounted, seat post mounted, or external frame-mounted. No matter where your battery is, they’re built to be durable, not delicate.
Find It
Start by locating the battery case, dock, and connectors. Look closely for:
- Dirty or rusty terminals
- Loose or misaligned mounting points
- Cracks or dents in the e-bike battery casing
If your e-bike won’t turn on, struggles to charge, or dies faster than usual–your battery might need extra attention.
Fix It
Your e-bike battery doesn’t have to fail before you start these steps. The sooner you test your e-bike battery health and reinforce it, the better it will perform. But if your e-bike power is already slacking, glitching, or unpredictable, now is the perfect time to step in.
- Clean Terminals: Unclip the battery and inspect the metal ends. Use contact cleaner and a soft brush to remove gunk or rust. Let dry completely. Reattach only once it's dry.
- Secure Connections: Reseat the battery until it clicks or latches tight. Make sure the tray mounts or locking tabs aren’t blocked. Use electrical tape to secure fits and lacing tape to keep everything in place, heat-free.
- Protect Leads: Check the cable routing around the battery. Use cable ties and braided cable sleeves to organize and manage wires. Sleeving wicks moisture and shields wires from wear. Avoid heat-activated products near the battery casing.
Remember, e-bike battery voltages are low, but they’re still electrical systems. Power down your bike before you begin. Never handle batteries with wet hands. If the e-bike battery casing is swollen, stop immediately and contact a professional.
The truth is, most e-bike battery trouble starts small and can be DIY’d with care, heat shrink tubing, and strong connections.
Myth #4: Moisture Means The Motor’s Fried
The reality is that moisture isn’t a death sentence.
E-bikes are built to ride–rain or shine. Your work, errands, bills, and plans can’t stop just because the weather’s bad. So e-bikes come ready for splashes, rain, and puddles. But water and electronics aren’t a good combination.
This isn’t the problem you want to wait on. Installing waterproof products on your e-bike is the only way to ensure that weather and water are never a worry. The more reinforcements you can provide, the dryer and safer every ride will be.
Find It
To prevent (or reverse) moisture-related damage, you’ll have to check on a few different e-bike parts.
- Look around wire leads for rusty terminals.
- Check if display screens are cloudy or foggy.
- Are charging ports or connectors collecting pooled water?
- Sticky throttles and delayed button responses count, too.
- Rust anywhere means water is hanging out too long.
If your bike is shorting out, lagging, or triggering random error codes–there might be moisture trapped in the wrong spot.
Fix It
The fastest way to waterproof e-bike wires is with an adhesive lining. Adhesives are your dry guarantee. This inner wall of pre-applied hot melt liquifies and spreads onto surfaces. It bonds together and seals shut. It installs on wire insulation, over splices, at wiggly connection points, and anywhere else you want to stop water in its tracks.
You can find waterproofing adhesives in the following products (and your e-bike is begging for them):
- Dual Wall Heat Shrink Tubing–Made to keep wires dry and water out at all times. It works great on high-frequency-use wires by your handlebars. It’s rugged and ready to keep wires dry near e-bike tires and pedals, too.
- Heat Shrink Tape–Same waterproofing and protection as tubing, but in the convenience of a flat strip. Use it anywhere you can’t disconnect, but need waterproofing. It’s also a perfect way to permanently patch and seal visible damage to the wire casing.
- Adhesive Lined Butt Splice Connectors and Terminals—Waterproof seals are also vibration-proof seals. These options can start, stop, and splice wires across the entire frame of your bicycle. They are the most secure way to attach wire ends. You apply, crimp, and heat-activate them for waterproof e-bike wire connections that will never bounce loose.
The truth is, your e-bike isn’t fragile, but it is electrical and needs help staying dry so it works right.
Myth #5: DIY E-Bike Repairs Won’t Last Very Long
The reality is that clean repairs with the right materials don’t just work–they last.
Factory-installed wires fail. Shop fixes fray. Curbs, trails, and rough roads constantly shake the frame and all its connected parts. Wear and tear and the love to ride cause stress and strain to your system. Lasting performance is a result of lasting attention.
E-bikes respect your time and reward preparation. The strength, stability, and safety of each ride depend on a finely tuned machine carefully executed. No matter what you think the best brand of e-bike is, they all need routine maintenance. They all benefit from extra protection. And the right tools and products can go a long way.
Here are a few ways to care for your DIY e-bike repairs:
- Charge Smart: Keep batteries charged between 20-80% for longer life. Ensure ports, parts, and sensitive components are secure and dry. Let batteries cool for a few minutes post-ride before you plug them in.
- Reroute with Intention: Bundle and secure with stainless steel cable ties for robust, rust-proof, and repositionable routing. Reinforce OEM e-bike parts with braided wraps or cable sleeves for protected components that won’t get pinched, crushed, or flattened.
- Store Wisely: If you’re not riding for a while, keep batteries around 50% dry. Reinforce connections with heat shrink tubing or electrical tape before storing to keep the dust out. Stainless steel cable ties and 304 tubular steel braided sleeving are rodent-proof and practically indestructible.
- Inspect Seasonally: Run through these myths once a season, and you can reduce maintenance, prevent mistakes from starting altogether, and will become a pro at repairing your e-bike at home, just in case.
E-bike repairs aren’t just reserved for the mechanically elite. Any e-bike rider who pays attention, thinks ahead, and loves their ride deserves to feel confident during e-bike repairs. The circulating myths out there tell you that you can’t DIY e-bike repairs. But we know better. And now, so do you.
E-bikes are machines. They are smart commuters. Time and energy savers. Convenience makers. And joy givers. If you use tools that insulate, protect, and organize them, they’ll deliver flawless power, maintain strong connections and safe wires, and give you more enjoyable rides.
E-bike trips are 21% faster and 96% more enjoyable than regular bikes trips. They’re taking over city streets and rural sidewalks alike. At BuyHeatShrink.com, we’re here to help. So you don’t just ride your e-bike. You learn it. You love it. And now you’ve got the parts and knowledge you need to power your e-bike and empower all your repairs.
Better understanding, better products, and better e-bike rides are ready for you at BuyHeatShrink.com.
About the Author

E-Bike Repairs Made Easy & The Myths That Say You Can't
How To Remove A Cable Tie
August 10, 2020

Types of Heat Shrink: What They Are, and What They’re For
September 9, 2020
10 Types of Electrical Connections and How They’re Made
March 10, 2021

How To Remove Heat Shrink Tubing
March 3, 2021
How to Make a DIY Dog Leash with Heat Shrink Tubing
October 15, 2020

A Spotlight On 20 Thrilling Years
August 1, 2025
Powered By Nature: Solar Energy & The Rooftop Revolution
July 31, 2025
E-Bike Repairs Made Easy & The Myths That Say You Can't
July 17, 2025
The Truth About Water Resistant Vs. Waterproof Wires
July 10, 2025