How to Fix IPhone Chargers with Heat Shrink Tubing

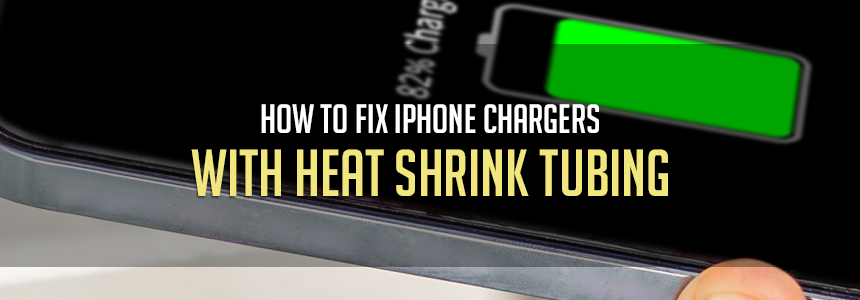

With so much technology lying around, you're bound to wind up with a few split and damaged wires over the years. Your cables get tugged, bent, and pulled on a day-to-day basis. It won’t be long before your cables start to wear down. Chargers tend to tear––usually at the worst possible moments–– and then you’re stressed and left at 4% battery life. So, it’d be great to learn how to fix iPhone chargers on your own, right?
These janky cables are the worst. They’re unreliable and will eventually leave you stranded with a dying phone and a useless cable. When it comes to worn down chargers, you’re probably either holding on to old wires and leaving yourself in a dangerous position, or giving up hope and throwing out the charger altogether.
You might think you’ll save yourself a few bucks by keeping a damaged wire, but these can quickly become dangerous, especially around liquid or pets. Trying a quick solution such as electrical tape might also seem like an easy fix. But with use, it will wear down and need to be replaced eventually anyway. Instead, there is a more permanent and painless solution to restoring your cables: heat shrink. Using heat shrink tubing to fix iPhone chargers wires can renew them so that you’re not forced to buy a new one, but are also not at the risk of shock or injury from exposed electrical.
How to Fix iPhone Chargers with Heat Shrink
Heat shrink will give you equal amounts of protection and durability, and provide just as much coverage as the original jacket of the cable did. It’s a much more secure solution than any other temporary fix for your wires and will last much longer as well. In just a few simple steps, you can get your cables back to working good as new.
Step 1:
The first thing you’re going to need to do is get the correct measurement of heat shrink to fit your charger. For these projects, we recommend the ⅜” 3:1 Polyolefin single wall heat shrink. You can also use an adhesive lined heat shrink (otherwise known as dual-wall heat shrink), but it will be very thick. In short, the 3:1 or 2:1 Polyolefin heat shrink will provide more than enough protection. Then, you’re going to want to ensure that the heat shrink is cut to fit around the charger securely, with room for overlap.
Step 2:
Now you can slide the heat shrink over the charger. Make sure that the heat shrink completely covers the damaged portion of the wire. The heat shrink should overlap with the plastic part of the plug slightly, so that it can stay secure and cover all necessary areas of the charger.

Step 3:
Once you’ve covered the damaged area of the charger, use a VT-1000 heat gun to melt and mold the heat shrink to the charger. Be extra careful during this step, and take precaution so as to not burn yourself or further damage the plug.
Step 4:
After you have finished heating the heat shrink to the charger, allow the final product to cool down completely before use. Now your charger is secured and good as new!

With just a few simple steps and some heat shrink, you’re able to fix any broken electrical wiring. This method is extremely effective and functional, will last a long time, and will save you unnecessary spending on new wires in the future.
Make sure to check out our blog for more tips and tricks on how to use heat shrink in your household and for other easy projects just like this one!


About the Author

Types of Heat Shrink: What They Are, and What They’re For
September 9, 2020
How To Remove A Cable Tie
August 10, 2020

10 Types of Electrical Connections and How They’re Made
March 10, 2021

The Top 10 Do's and Don'ts of Heat Shrink
November 10, 2023
Heat Shrink Sizing Guide
September 29, 2020

How Heat Shrink and Mil-Spec Keep Systems Airworthy
July 2, 2026

A Man & His Garage: How to Get it Under Control
June 25, 2026

The Only 5 Products You’ll Need All Summer
June 11, 2026
How To Protect HVAC Wiring From Summer Strain
June 4, 2026