How To Remove Heat Shrink Adhesive?

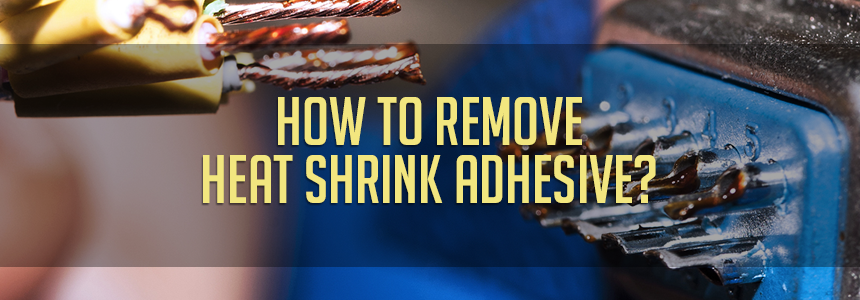
Heat Shrink Tubing is commonly found on a variety of electrical connections and wiring. Due to its ease of use in tight working environments, heat shrink is the professional choice for wire repair, corrosion protection, able organization, electrical insulation, and hobbyist applications. Polyolefin Heat Shrink presents essential wiring solutions, such as the Y-Transition, that may not be otherwise achieved without disassembly of components.
Heat Shrink is also known for its durability and abrasion resistance, so by its very nature, it is meant to adhere indefinitely.
Whether you use Heat Shrink Tubing every day or every once in a while, it helps to not only know how to apply it but also to remove it. Thankfully this process is relatively easy and can be accomplished without any specialized knowledge.
Here is BuyHeatShrink's simple step-by-step guide to help you easily remove heat shrink adhesive:
STEP 1
Find the Heat Shrink connection that you need to remove, noting the length and endpoints of the joint. Using a razor blade or small Exacto Knife, cut a shallow slit along the full length of the tube—it is not necessary to cut the whole length of the tube during this step. Take your time and be careful not to cut into the wire beneath. With a sharp blade, the heat shrink tubing should respond easily to a delicate incision.
STEP 2
Beginning at the incision point, grasp the lip of the heat shrink using needle-nose pliers, gently lift the tube away in the opposite direction, peeling back to reveal the wire underneath.
STEP 3
Use the tip of the razor blade to slice into the connection as you pull away with the pliers. Continue moving little by little until you reach the end of the connection. The adhesive should pull away free from the wire.
How to remove Heat Shrink Tubing


About the Author


Types of Heat Shrink: What They Are, and What They’re For
September 9, 2020

How To Remove A Cable Tie
August 10, 2020

10 Types of Electrical Connections and How They’re Made
March 10, 2021

The Top 10 Do's and Don'ts of Heat Shrink
November 10, 2023
Heat Shrink Sizing Guide
September 29, 2020

How Heat Shrink and Mil-Spec Keep Systems Airworthy
July 2, 2026

A Man & His Garage: How to Get it Under Control
June 25, 2026

The Only 5 Products You’ll Need All Summer
June 11, 2026

How To Protect HVAC Wiring From Summer Strain
June 4, 2026